Tags
coffee mug cozy, coffee mug cozy crochet pattern, coffee mug sleeve, coffee sleeve, cotton yarn, crochet, crochet gifts, crochet pattern, cup cozy, cup sleeve, DIY, etsy listing, free pattern, mug cozy, mug sleeve, pattern, stocking stuffer, tea cozy, teachers gift
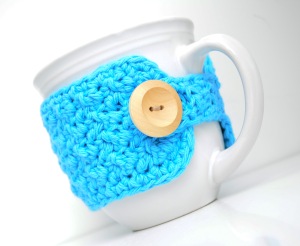
I LOVE making and using coffee mug cozies, they actually do keep your coffee warmer for longer, and they just seem to make the cup so much more comfortable and “cozy” to hold. I have a pattern for one on my blog already but I wanted to make the cozies look cleaner, and more “finished”. So I decided to re-work the pattern with single crochets all the way around the finished project, which helps to make the edges smoother / straighter and the final product over-all looks better. But if you were to just add single crochets all the way around the original pattern that I had typed up then it would most likely be too large for your mug, so I re-wrote the pattern to be the right size when finished. These things make great gifts, they are machine washable, and will last a long time! If you don’t know how to crochet, or just don’t feel like making one, you can purchase them in multiple colors from my Etsy shop for only $8!
Materials needed for pattern:
- worsted weight cotton yarn, I used Lily Sugar and Cream, but there are many other cotton yarn options.
- size 5.5mm crochet hook
- button of your choosing
- needle and thread to sew on button
Stitches used:
- SC – single crochet
- DC – double crochet
- HDC – half double crochet
- SL ST – slip stitch
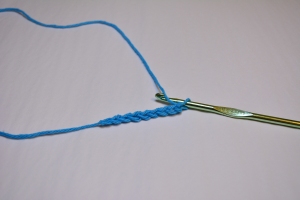
To begin, you will chain 9.
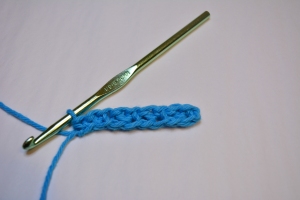
Row 1 – skip first chain, make 1 SC and 1 DC in the 2nd chain, skip next chain, 1 SC 1 DC in the next chain, skip next chain, 1 SC 1 DC in the next chain, skip next chain, 1 SC 1 DC in the next chain, then SC in the very last chain. You should end up with 4 SC, DC clusters, and 1 ending SC.
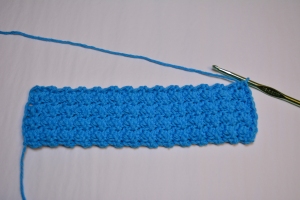
Row 2 – chain 1, turn, skip first stitch, 1 SC 1 DC in the 2nd stitch, skip next stitch, and continue in this manner until you reach the last stitch, make 1 SC in the last stitch. Just as row 1, you should end up with 4 SC, DC clusters, 4 skipped stitches, and 1 SC worked in the very last stitch.
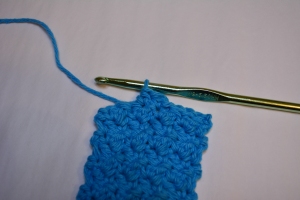
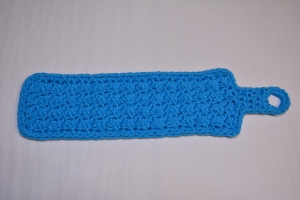
repeat row 2 until your mug sleeve is almost as long as you’d like it to be. (I made 28 rows total).
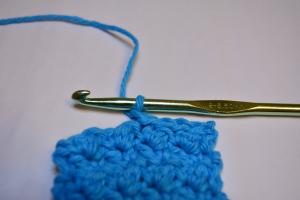
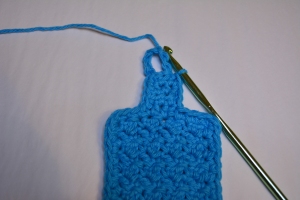
Then you will chain 1, turn, and slip stitch over the next 3 stitches, chain 1.
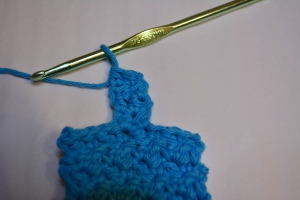
Now make 1 HDC in that stitch, 1 HDC in the next stitch. Your 2 HDC stitches should be in the middle of the row. (This is to make the strip that goes under the handle of the mug).
Chain 1, turn, 1 HDC in the first stitch, 1 HDC in the 2nd stitch. (repeat this row until you have worked 5 total rows of 2 HDC stitches in each row.)
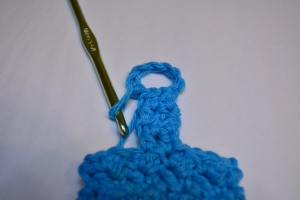
Then you will chain 7, and slip stitch to the other HDC stitch to make a loop. (This will be your button loop)
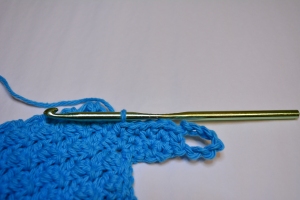
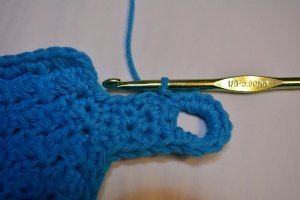
Then you will chain 1, and SC all the way down the side of the button loop strip….
….down the side of the sleeve, and all the way around and up the other side too. Just make SC stitches all the way around til you get to the button loop.
Then make 10 SC stitches into the button loop.
Slip stitch into the first SC stitch made in the side of the button loop strip when you first started the SC stitches around. Fasten off, and weave in the ends.
Then all you need to do is sew your button to the other side, and you are finished!
Please follow my blog for more free pattern posts to come later!

Thanks for the pattern! These are so adorable, and I’ll be posting a link back to your blog on my own blog KrafftyKorner.wordpress.com!
LikeLiked by 1 person
Thanks so much for the share!
LikeLike
Worked great, even for a beginner like me! Thanks.
LikeLike
I’d like to make these, but my mugs are all different sizes, how do I make sure they can fit each mug? What size mug does your pattern fit?
LikeLike